How to Make Homemade Candles: A Beginner's Step-by-Step Guide
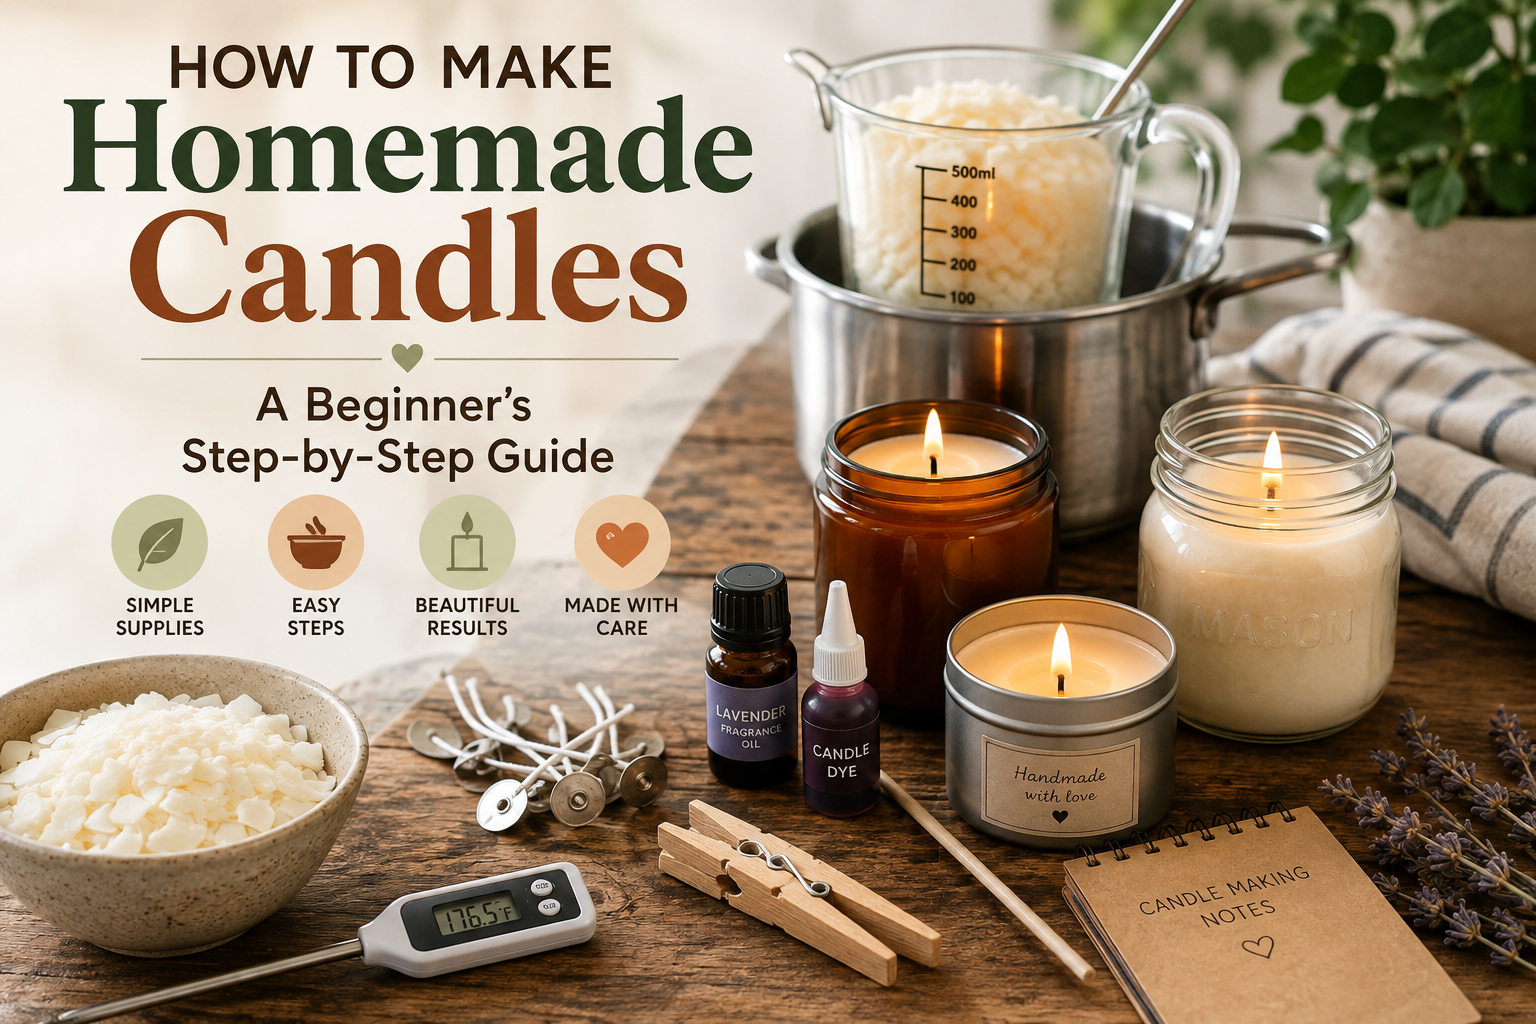
How to Make Homemade Candles
You don't need a workshop, a business license, or years of practice to make a candle worth burning. What you actually need is an afternoon, a handful of supplies from the craft store, and maybe twenty minutes of hands-on work. Everything else is just waiting for wax to cool, which, honestly, is the hardest part — patience runs thinner than most people expect.
This guide covers the whole process. Picking a wax. Getting the wick size right, which is the step most tutorials rush past even though it decides whether your candle burns well or not. Pouring your first candle. And what to do if it comes out wrong, because it might, and that's fine.
What You'll Need
Most of this fits in a single basket at a craft store:
Candle wax — soy, beeswax, coconut, or paraffin (more on choosing one below)
Pre-tabbed cotton or wood wicks, sized to your container
A heatproof container. Mason jars work well. So do metal tins and ceramic jars.
A double boiler, or just a heatproof pitcher set inside a pot of water
A kitchen scale
A thermometer — a candy or instant-read one is fine
Wick stickers or a small dot of hot glue, plus something to hold the wick centered while you pour (a clothespin or a chopstick balanced across the jar's rim both work)
Fragrance or essential oil, if you want a scented candle
Candle-specific dye, if you want color
Skip the crayons. It's tempting, and plenty of people have tried it, but crayon wax isn't built for this — it doesn't blend cleanly and it can clog the wick.
Choosing Your Wax
The wax shapes everything: how the candle burns, how it smells, even how it looks once it's set. Worth a minute of thought before you buy.
Soy wax is what most home candle makers reach for first, and there's a reason. It burns cleaner than paraffin, holds fragrance well, and comes from a renewable source. Its one real quirk is frosting — a white, crystal-like texture that can show up on the surface. It looks a little off, but it's purely cosmetic. Doesn't touch how the candle performs.
Then there's beeswax, which burns longer than the others and produces very little soot. Even unscented, it carries a faint honey smell, which is nice if you'd rather skip added fragrance altogether. The catch is cost — beeswax runs more expensive than soy or paraffin — and it doesn't hold added scent as readily, so a scented beeswax candle usually comes out subtler than you'd expect.
Paraffin is the cheapest option and probably the easiest to find. It also takes color and fragrance more readily than the other waxes. The downside: it's a petroleum byproduct, and it burns with noticeably more soot than soy or beeswax. Whether that matters to you is a personal call.
Coconut wax is the newer entry here. It burns evenly, holds scent well, and tends to be the priciest of the four — which is probably why you'll often see it blended with soy rather than sold pure.
If this is your first candle and you're not sure where to start, soy wax is a fair default. It's forgiving, it's everywhere, and it gives you a clean burn to learn on.

Step-by-Step: Pouring Your Candle
Prep your container first. Wash the jar in hot, soapy water and let it dry completely — any leftover moisture and the wax can spit when you pour. It also helps to cover your work surface with newspaper or an old towel. Drips happen even when you're careful.
Measure the wax. Fill your empty container with wax flakes or chunks up to about where you want the finished candle to sit, then tip that into your melting pot. It's a rough measure, but it gets you close enough without a lot of math.
Melt it slowly. Set up a double boiler — a pot of simmering water with a heatproof pitcher or bowl resting inside it. Don't put wax directly over a burner; it can scorch, or worse, catch fire if it heats too fast unwatched. Melt to whatever temperature your wax's packaging recommends (soy wax usually falls somewhere around 170–185°F), and check it with the thermometer rather than guessing by eye.
Add fragrance and dye once it's off the heat. A common starting point is around 6–10% of the wax's weight in fragrance oil, though the exact number depends on the wax and the oil you're using — check the label. Stir for a good minute or two so it blends through evenly instead of settling at the bottom.
Set the wick before you pour, not after. Stick the wick's tab to the center of the container's base with a wick sticker or a dab of hot glue. Rest a chopstick or clothespin across the top of the jar to hold it upright and centered.
Let the wax cool a bit, then pour. Wait until it drops to the pour temperature on your wax's instructions — pouring while it's too hot raises the odds of sinkholes and a rough top. Pour slowly, and leave about half an inch of space near the rim.
Cool it undisturbed. Several hours, ideally overnight. Don't move it or set it somewhere cold in the meantime; that's a common way to end up with cracks. Once it's fully solid, trim the wick down to about a quarter inch.
Then cure it. This part gets skipped a lot, but it matters. A week or two of sitting lets the fragrance bind fully into the wax. Soy wax especially throws scent noticeably better once it's had that time.

Getting the Wick Size Right
This is the one detail that decides more than people expect. Too small a wick, and the melt pool never widens — it just burns straight down the middle, leaving wax stranded on the sides (this is tunneling, and it's the single most common complaint from first-timers). Too large, and it burns hot, throws soot, and eats through the candle fast.
Wick manufacturers publish sizing charts matched to container width and wax type, and it's worth actually checking the chart for your specific wick line rather than eyeballing it — sizing isn't consistent across brands. If you're set on a particular jar and wax combo, doing a small test burn with two wick sizes before committing to a full batch saves a lot of wasted wax later.

Troubleshooting Common Problems
Even a careful pour doesn't always come out right the first time. Here's what's usually behind the most common issues.
Tunneling. A narrow hole burns straight down the center, leaving a ring of unused wax on the sides. Usually the wick's too small, or the first burn didn't run long enough to form a full melt pool edge to edge. If it's already happened, a heat gun or hair dryer on low, held a few inches above the surface, can melt it level again. Next time, size the wick up or let the first burn go longer.
Sinkholes. A dip or hollow near the wick — sometimes you won't even see it until the candle's burning. These come from air pockets trapped as the wax cools unevenly. Poke the spot with a skewer to release the trapped air, then pour a thin layer of remelted wax over the top to smooth it out.
Frosting. That white, crystalline film, mostly on soy wax. It's a natural characteristic, not a defect, and it has zero effect on how the candle actually burns. If the look bothers you, pouring at a slightly lower temperature and preheating your jars beforehand tends to reduce it.
Weak scent throw. Give it the full cure time before judging — a week or two really does change things. Still faint after that? You might be under the fragrance oil's recommended usage rate for that wax.
Candle Safety
Homemade candles carry the same fire risk as anything you'd buy off a shelf, so it's worth building good habits from the first burn. The National Candle Association recommends trimming the wick to a quarter inch before each use, and burning candles on a stable, heat-resistant surface well away from anything flammable. A few other rules worth keeping in mind: never leave a burning candle unattended, keep it out of reach of kids and pets, and keep it clear of drafts — vents, fans, open windows — since drafts are a common cause of uneven burning and flare-ups. Use a snuffer instead of blowing the flame out; blowing can splatter hot wax, and water can crack a glass container outright.
Frequently Asked Questions
Can I use crayons to color my candles?
Better not to. Crayon wax isn't made for this and can clog the wick or throw off how the candle burns. Candle-specific dye is worth the extra few dollars.
How much fragrance oil should I use?
It varies by wax and oil, but 6–10% of the wax's weight is a reasonable starting range. Check the fragrance oil's label — it'll usually list a recommended usage rate for your specific wax.
Why did my candle crack after cooling?
Almost always from cooling too fast, often because it got moved somewhere cold while still warm. Let it cool at room temperature, away from drafts or cold surfaces, and it should stay intact.
How long should a new candle cure before I burn it?
One to two weeks is typical. That window gives the fragrance time to bind fully with the wax — soy wax in particular benefits from the wait.
Getting Started
Your first candle probably won't come out perfect, and that's genuinely normal — wick sizing and pour temperature both take some trial and error to dial in. Start with one wax, one container, one wick size, and adjust from there based on how it actually burns. Once you land on a combination that works, the second batch takes a fraction of the time the first one did.